Open your WalkTheWeb 3D Website.
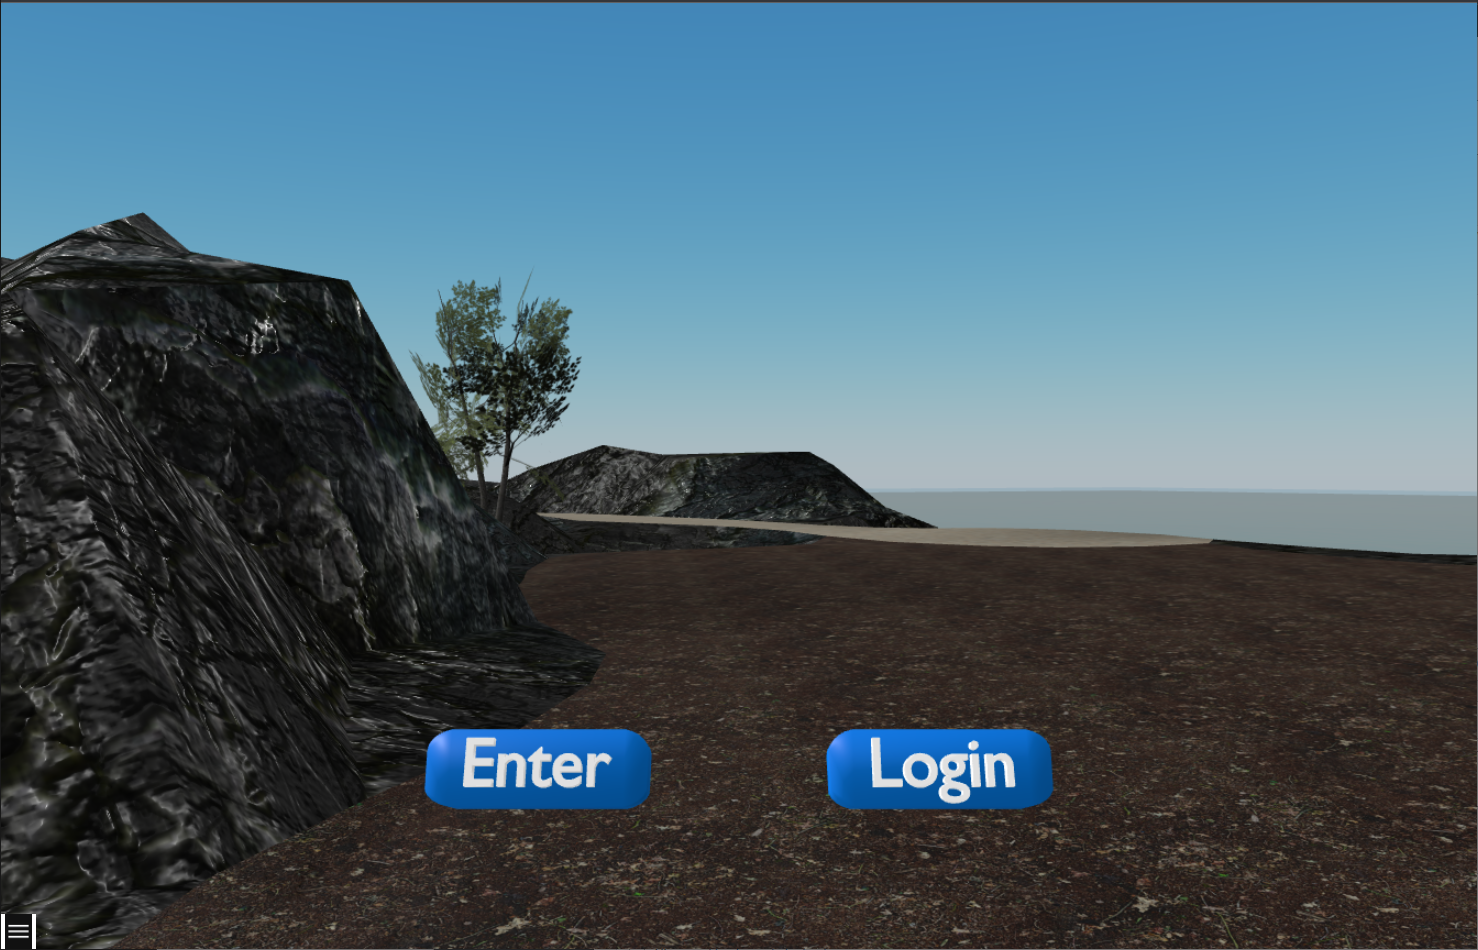
The shortest path is to click the Login button.
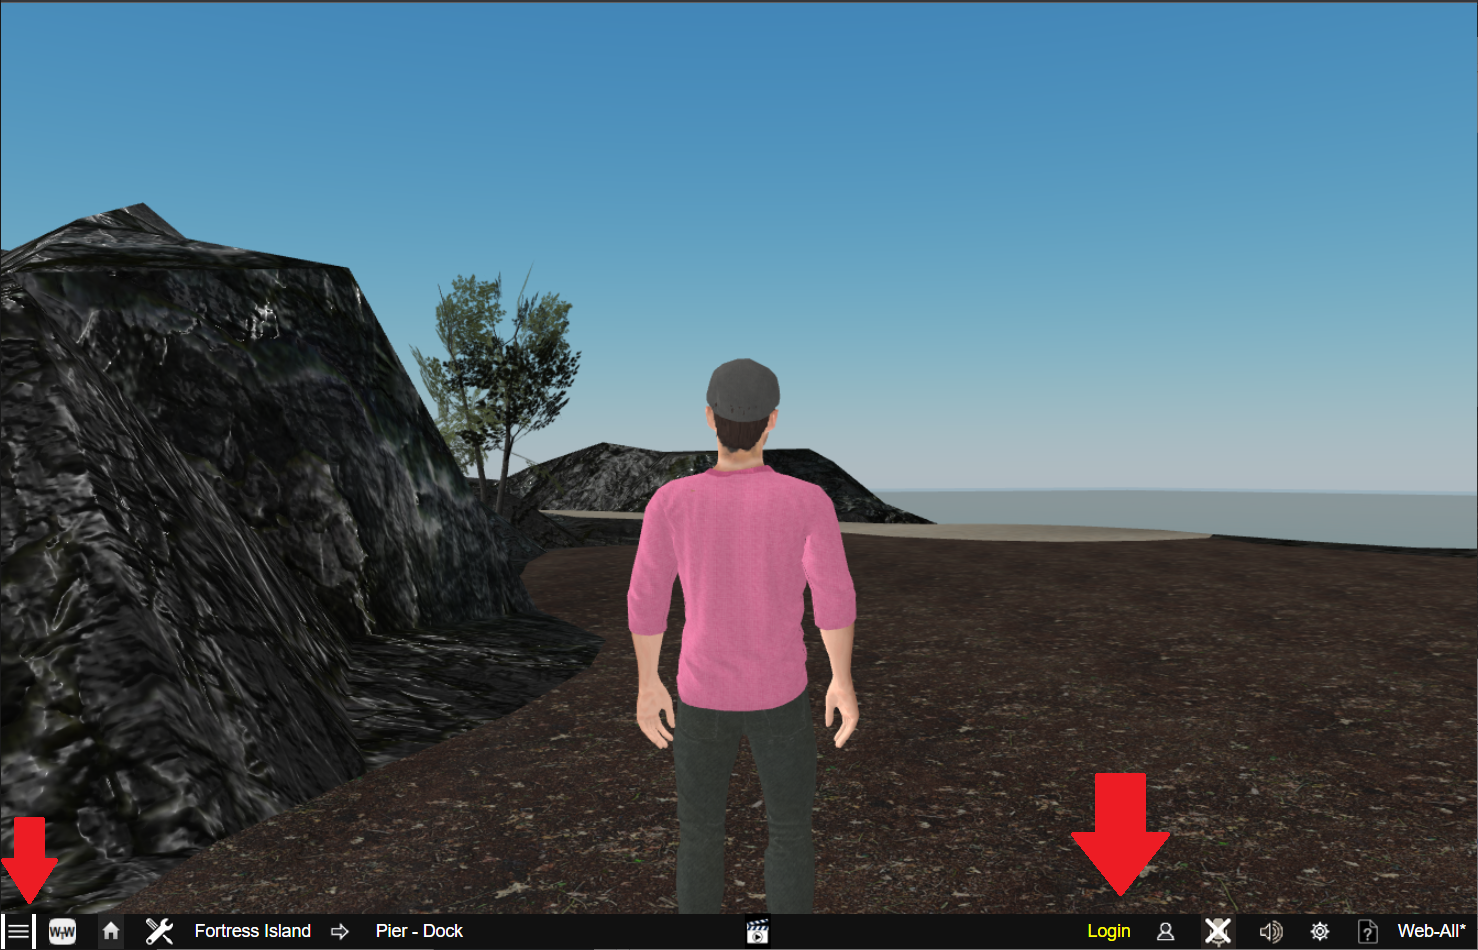
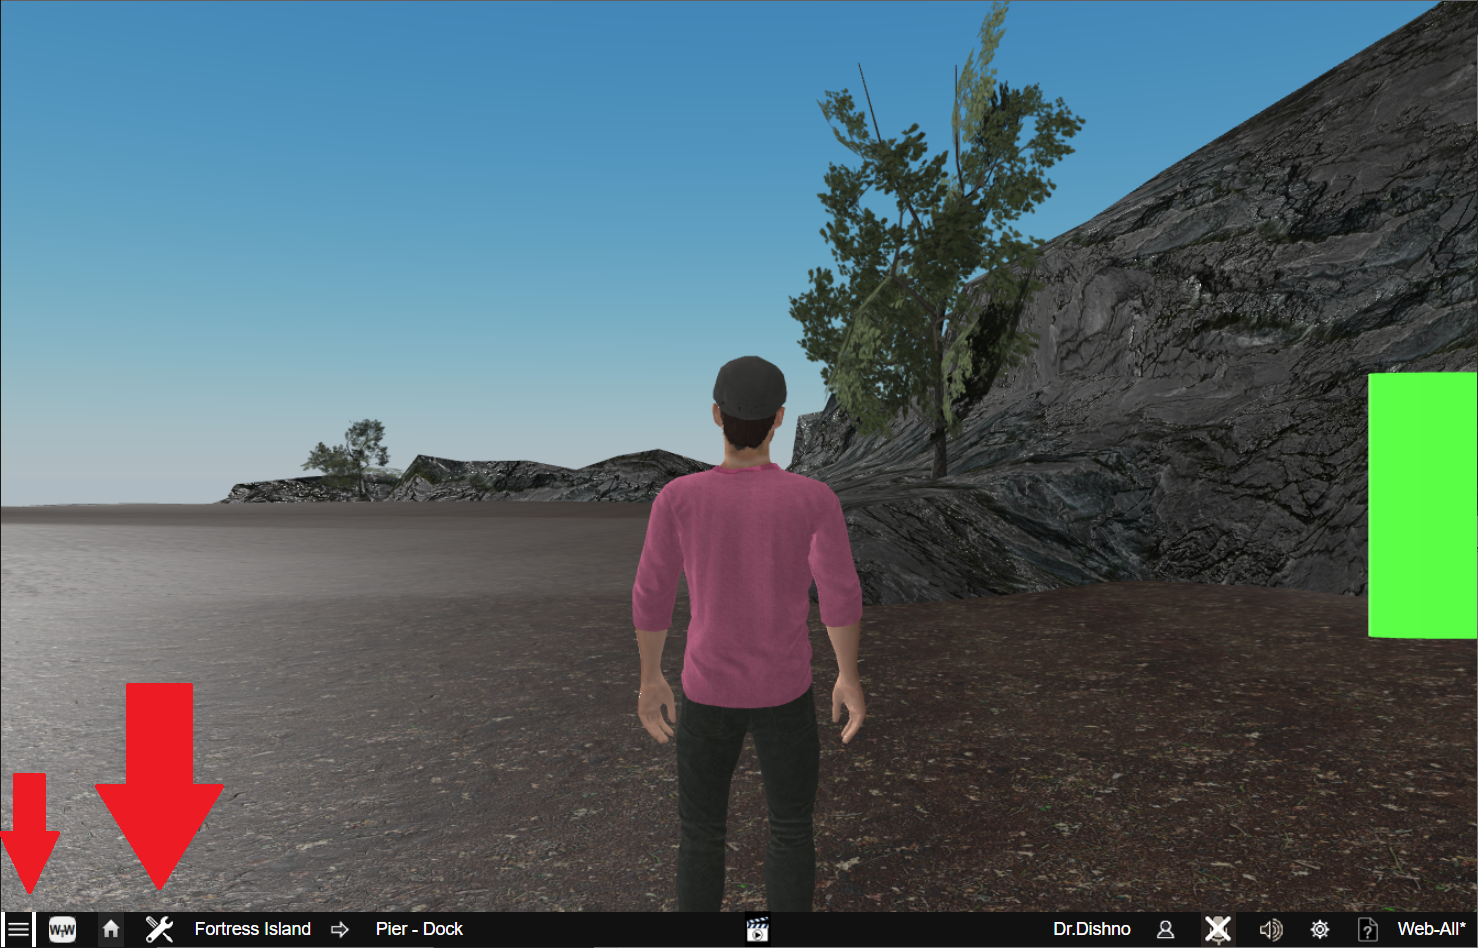
If you have already clicked Enter, or do not see the buttons on your 3D Scene, click the menu button in the bottom left corner.
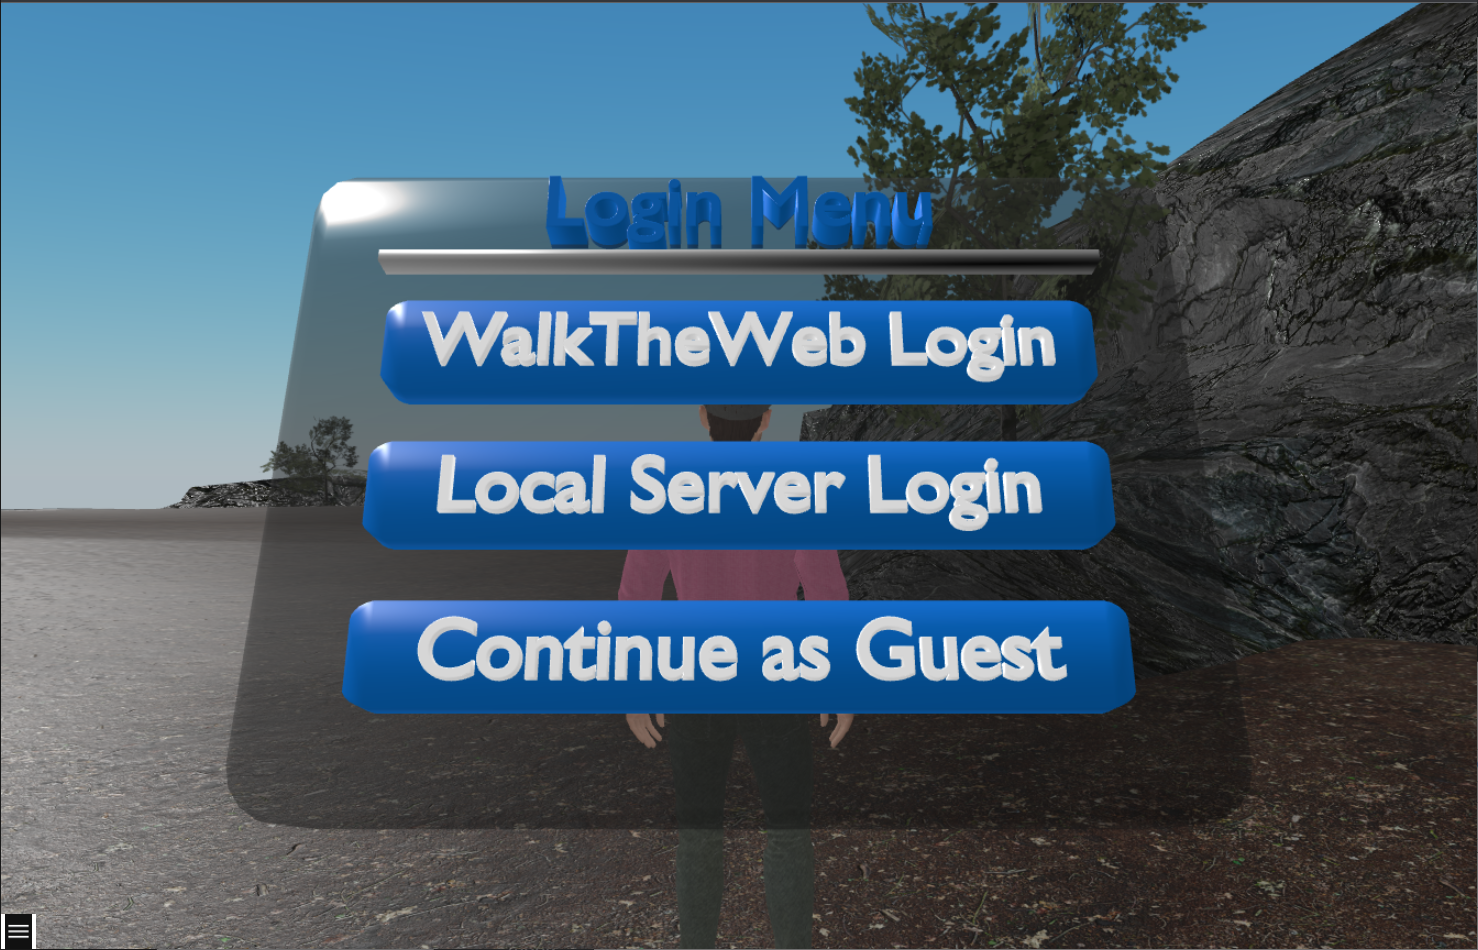
If there is more than one option allowed on the WalkTheWeb server, you will get a Login Menu to select how you want to proceed.
WalkTheWeb Login – Global login designed to work on all WalkTheWeb 3D Websites. This option is only available if you have the 3D Internet Plugin enabled.
Local Server Login – Local account designed to work only on this WalkTheWeb Server. The option to disable this kind of login is only available if you have the 3D Internet Plugin enabled.
Continue as Guest – same as clicking Enter without a login. The option to disable this and require a login is only available if you have the 3D Internet Plugin enabled.
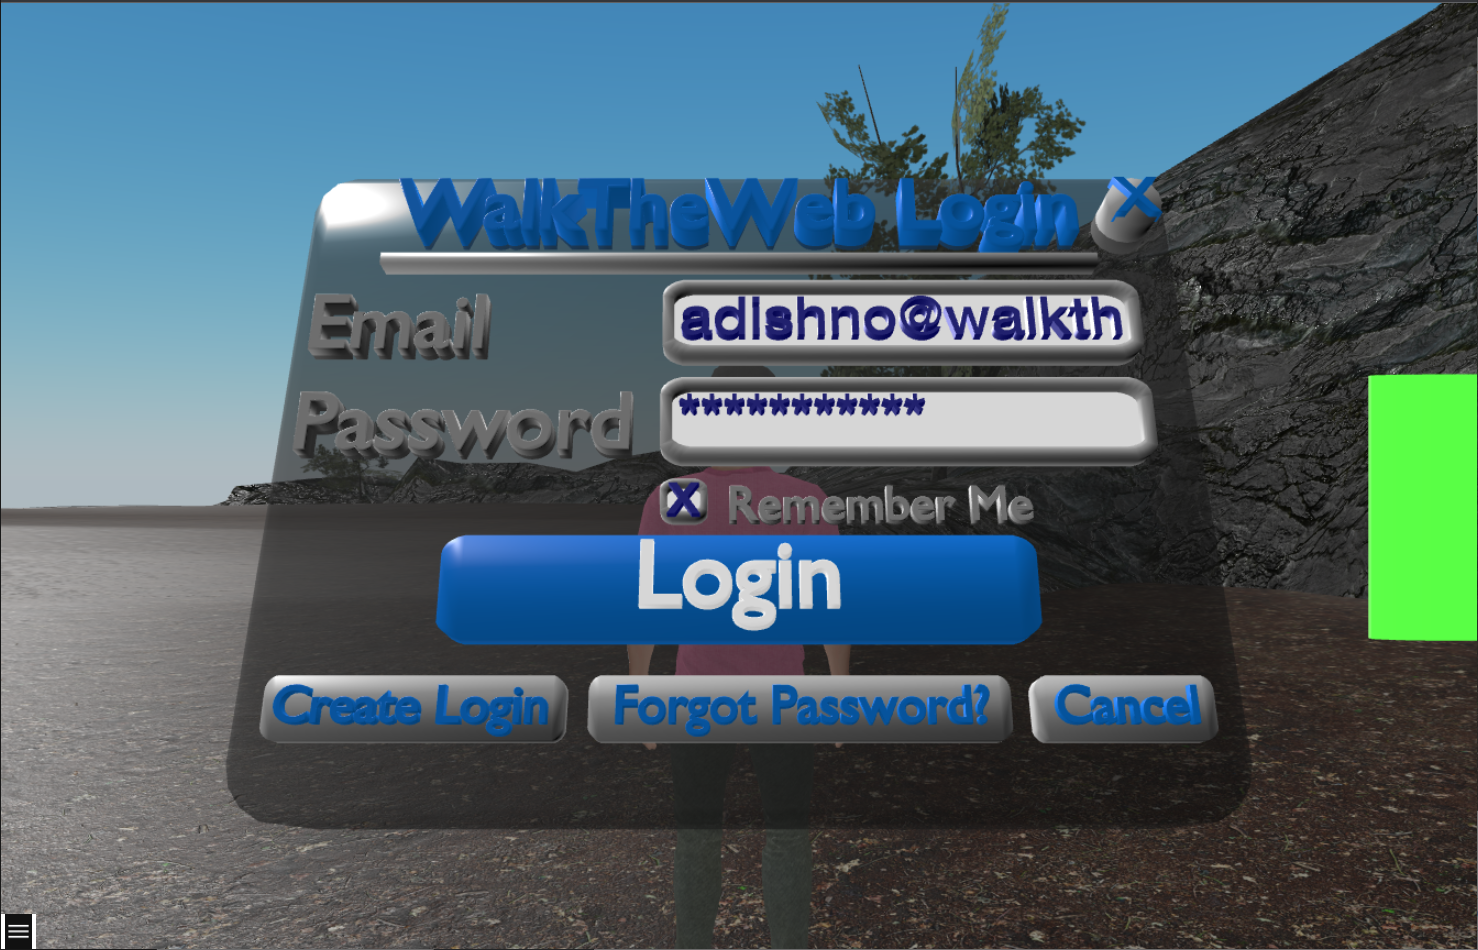
Selecting WalkTheWeb or Local Server Logins will give you a login 3D Form.
The 3D Form is designed to also work in VR and AR implementations and will render in the 3D Scene.
Following your login, you can now set your Display Name and Select a 3D Avatar. This may include some 3D Avatars that are not available unless you are logged in.
![]()
Finally, to go to Admin Mode, click the menu button in the bottom left corner, when it opens the bottom Browse Menu, click the Admin Home icon.
You are now in Admin Mode and can work on any 3D Project you wish to load. Especially note the 3D Communities, 3D Buildings, 3D Things, and 3D Avatars.
